If you're a music lover, chances are you've got your favorite songs and playlists on multiple platforms. However, with the ever-increasing number of music streaming services available today, it can be challenging to manage and transfer your music library.
If you're wondering how to transfer Apple Music to YouTube Music, this guide is for you. In this article, we'll show you how to transfer your Apple Music playlist to YouTube Music step-by-step and keep your Apple Music songs offline forever. We'll also explore alternative methods and provide some tips to troubleshoot any issues you may encounter along the way. So, let's get started!
Article Content Part 1. How to Transfer Apple Music to YouTube Music [FREE Way]Part 2. Alternative Ways to Transfer Apple Music Playlist to YouTube Part 3. Why I Can't See My Apple Music Songs on YouTube Music after Transferring?Part 4. Conclusion
Can I import my Apple Music library to YouTube Music? In this section, we'll guide you through the steps to transfer your Apple Music playlist to YouTube Music using a free method. Here's what you need to do:
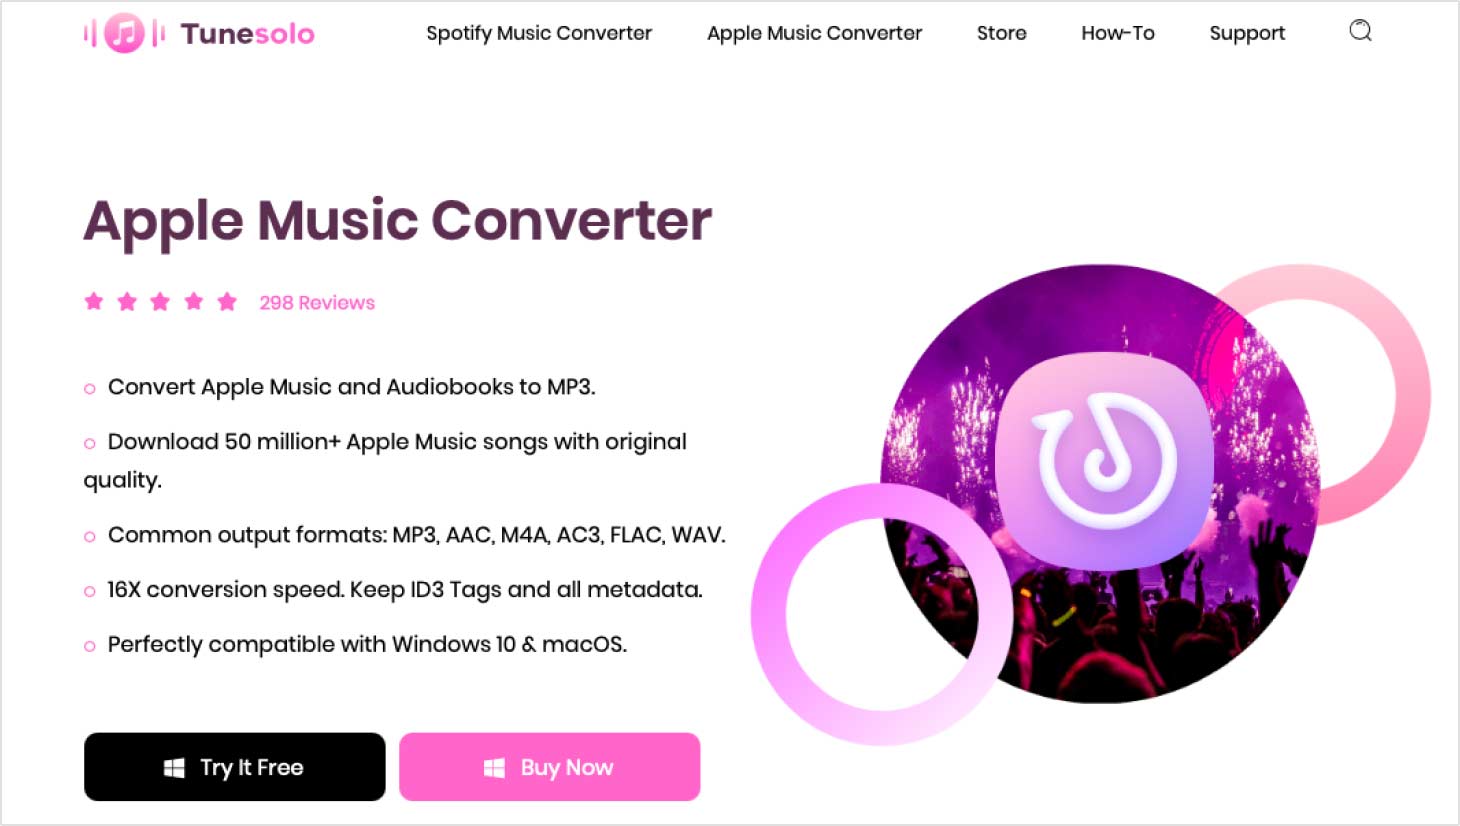
To download your Apple Music songs and playlist on your computer, you'll need to use a third-party tool called TuneSolo Apple Music Converter. This tool lets you convert Apple Music songs to MP3 format, which you can then upload to YouTube Music.
This desktop application lets you download and convert Apple Music songstopopular audio formats. The software is available for Windows and Mac operating systems and supports the conversion of Apple Music tracks at up to 10X speed while retaining the original audio quality and all ID3 tags and metadata. In addition to its conversion capabilities, TuneSolo Apple Music Converter also features an intuitive and user-friendly interface that makes it easy to use, even for beginners.
Here are the steps to download your Apple Music songs and playlist using TuneSolo Apple Music Converter:
Step 1. Download and install TuneSolo Apple Music Converter on your computer. You can visit the official website to download it or just by clicking the safe button below to download it.
Step 2. Launch the software and click “Open Apple Music Web Player”.
Step 3. Select the songs and playlists you want to download and transfer to Youtube Music.
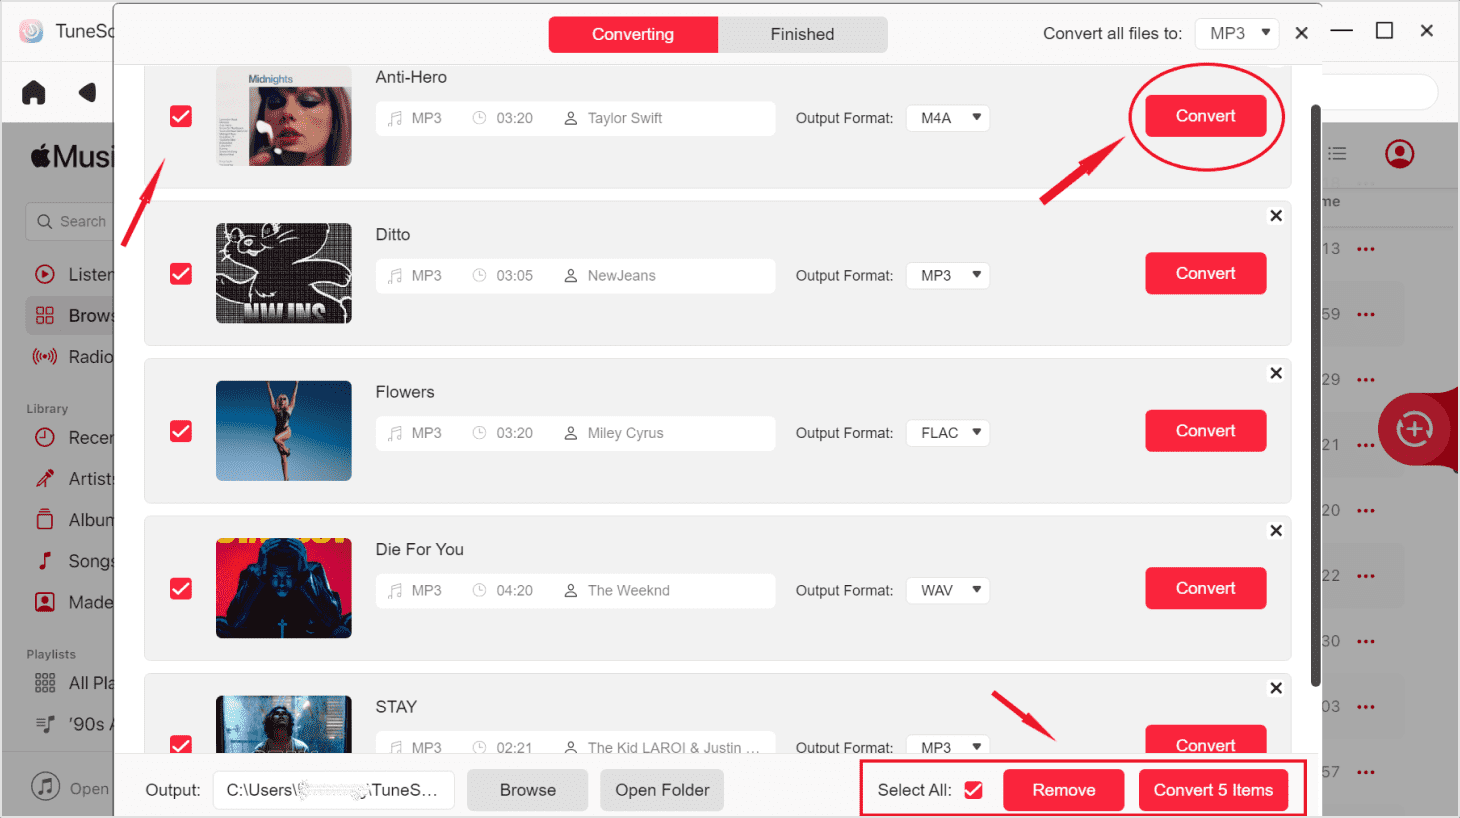
Step 4. Choose the MP3 format and the output folder for the converted files.
Step 5. Click on the "Convert All Items" button to start the conversion process.
Step 6. Once the conversion is complete, you can find the converted files in the output folder.

How do I export music from Apple Music to Youtube Playlist? Once you've converted your Apple Music songs to MP3 format, you can upload them to YouTube Music. Here's how to add local music to YouTube Music:
Step 1. Open YouTube Music on your computer.
Step 2. Click on your profile picture in the top right corner and select "Upload music".
Step 3. Select the MP3 files you want to upload and click "Open".
Step 4. YouTube Music will then upload the files to your library.
Step 5. You can now access your uploaded music in the "Library" tab of YouTube Music.
That's it! You've successfully transferred your Apple Music playlist to YouTube Music using a free method.

If you're looking for alternative ways to transfer your Apple Music playlist to YouTube Music, there are a few services that can help.
TuneMyMusic is a web-based service that lets you transfer your music between different platforms, including Apple Music and YouTube Music. The service is free to use, and you can transfer up to 10,000 tracks at a time.
To import an Apple Music playlist to YouTube Music with TuneMyMusic, follow these steps:
Step 1. Go to the TuneMyMusic website (www.tunemymusic.com).
Step 2. Select "Apple Music" as the source platform and log in with your Apple Music account.
Step 3. After logging in, choose the playlist you want to transfer to YouTube Music.
Step 4. Then, select "YouTube" as the destination platform and log in with your YouTube Music account.
Step 5. Once logged in, TuneMyMusic will map the tracks from your Apple Music playlist to the corresponding tracks on YouTube Music.
Step 6. Review the mapping to ensure accuracy and then confirm the transfer.
Step 7. TuneMyMusic will start the process of transferring your Apple Music playlist to YouTube Music. Once completed, you should be able to find your playlist on your YouTube Music account.

MusConv is another service that lets you transfer your music between different platforms. It supports a wide range of music streaming services, including Apple Music and YouTube Music. MusConv is available as a desktop application or a web-based service, and you can choose from a range of pricing plans depending on your needs.
To import an Apple Music playlist to YouTube Music with MusConv, you can follow these steps:
Step 1. Open the MusConv application or visit the MusConv website.
Step 2. Select "Apple Music" as the source platform and log in with your Apple Music account.
Step 3. Once logged in, choose the specific playlist you want to transfer to YouTube Music.
Step 4. Next, select "YouTube Music" as the destination platform and log in with your YouTube Music account.
Step 5. Once logged in, MusConv will start matching and transferring the tracks from your Apple Music playlist to YouTube Music.
Step 6. Review the transfer to ensure accuracy and completion.
Step 7. Confirm the transfer, and MusConv will initiate the process of moving your Apple Music playlist to YouTube Music.

Both TuneMyMusic and MusConv are reliable services that can help you transfer your Apple Music playlist to YouTube Music quickly and easily.
After transferring your Apple Music playlist to YouTube Music, you may encounter a common issue where you can't see your Apple Music songs in YouTube Music. This is because YouTube Music only shows songs that are available in their streaming library, and not local audio files that you've uploaded.
However, there is a way to enable the option to play local audio files on YouTube Music. Here's how to do it:
Step 1. Open YouTube Music on your computer.
Step 2. Click on your profile picture in the top right corner and select "Settings".
Step 3. Scroll down to the "Playback" section and toggle on the "Show device files" option.
Step 4. YouTube Music will now scan your device for local audio files, including the ones you've uploaded.
Step 5. You can now access your local audio files in the "Device files" tab of YouTube Music.
By enabling this option, you'll be able to see your Apple Music songs in YouTube Music and play them just like any other song in your library.

In conclusion, transferring your Apple Music playlist to YouTube Music can be a great way to enjoy your favorite songs on a different platform. Whether you choose to use the free method of downloading and converting your Apple Music songs with TuneSolo Apple Music Converter or opt for one of the alternative services like TuneMyMusic or MusConv, there are several ways to accomplish this task.
However, it's important to note that after transferring your Apple Music playlist to YouTube Music, you may encounter the issue of not being able to see your local Apple Music songs. But don't worry, by enabling the option to play local audio files in YouTube Music, you can access and play your transferred songs just like any other song in your library.
Overall, if you're looking for a reliable and efficient tool for converting your Apple Music songs to a format that can be played on any device, we highly recommend TuneSolo Apple Music Converter.
Its user-friendly interface, customizable output settings, and fast conversion speed make it a great choice for anyone who wants to enjoy their Apple Music songs without any restrictions or limitations.
Copyright © 2025 TuneSolo Software Inc. All rights reserved.
Leave a comment
1.Your Name
2.Your E-mail
3.Your Review
Submit