3 Best Methods to Export iTunes Music to Android in 2025
We all know that Apple is moving away from its iTunes service. They’re slowly abandoning this platform to make way for more opportunities. It’s also a known fact that there is no iTunes platform available to Android users.
If you want to access iTunes, then you’ll have to go through extra steps to get everything working for you. Unfortunately, not everyone has the time to go through such steps.
This article will show you several methods on how you can export iTunes music to Android without paying for an Apple subscription. Let’s start by answering some of your questions.
Article Content Part 1. Can You Export Music from iTunes?Part 2. Ways to Export iTunes Music to Android?Part 3. FAQs about iTunes Music to AndroidPart 4. Summary
Part 1. Can You Export Music from iTunes?
We’ve all been asking ourselves the same question, can you export music from iTunes? Luckily, we were able to answer that question years back. And we’ll try to discuss that in detail in this section. Let’s start with iTunes Music.
What is iTunes Music?
iTunes Music was launched far back in 2015. They provided a continuous source of music from different places. You can purchase music through this platform and you can access them through a browser, an app, or a dedicated platform.
Unfortunately, there are several issues that popped up in regards to iTunes Music, and we’ll discuss that next.

Limitations of iTunes Music
With the advent of iTunes came an issue that everyone dealt with, and that would be the DRM protection on the iTunes files.
Normally, you should be able to do whatever you want with the files as long as you’ve downloaded them. However, even after exporting music from iTunes, there are still limitations imposed. This resulted in a lot of complaints from users.
Can you export music from iTunes?
Fortunately, there are several ways to export iTunes music to Android, but you have to delve deeper into this subject before you can find them out. So yes, you can export music from iTunes, but it’s not going to be easy.

Part 2. Ways to Export iTunes Music to Android?
There are several ways to export iTunes music to Android. Generally, there are three methods with varying difficulties. For the sake of keeping this simple, we will start with what I think is the easiest method. So without further ado, let’s proceed with the very first method to sync iTunes to Android for free:
Method 1. Move iTunes Music Files to Android via USB Cable
The first method involves using a USB cable. As you may have noticed, the only thing you’ll need to accomplish this is a USB cable. Of course, you have to be knowledgeable about your computer as well, since we’re going to export iTunes music to Android. Anyway, below are the steps on how to download iTunes on an Android phone:
- Connect your Android to the computer.
- Locate the iTunes music files on your computer.
- Once you’ve found the music files, open the file manager on your computer. It should be File Explorer on PC and Finder on Mac.
- Once the file manager is open, find the internal storage of your Android. On PC, it should be found on My Computer while Mac users will find it on the desktop.
- Drag and drop the iTunes music files into this folder.
The moment you drag and drop the files into the said folder, a popup window will appear. Now all you have to do is wait until that popup window disappears which should indicate that the transfer process is complete. At this point, you have successfully learned how to export iTunes Music to Android via USB cable.

Method 2. Sync iTunes Music with Google Play Music
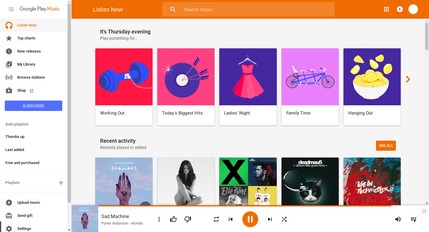
You can also export iTunes Music to Android using the Google Play Music app. This is mainly because the Google Play Music platform offers free cloud storage which can be accessed on both desktop and phone. Plus, it’s compatible with iTunes, so it’s the perfect app for this task. To sync the Android and your device where the iTunes music is located, you have to follow these steps:
- Download the Google Music Manager app on the computer. On your mobile device, install the Google Play Music app.
- Open the program on your computer and login to your Google account. Do the same on the app on your mobile device.
- Now on your computer, locate the files that you want to export. Once you’ve located those files, head to the Google Music Manager desktop app then upload those files.
- Next, head to your Android device and open the Google Play Music app.
- Go to the My Library section and you’ll see the songs that you uploaded earlier appear in your library.
- All you have to do now to export iTunes Music to Android is download the songs that you want to download.
Take note that uploading and downloading large amounts of files will take a while. So if you think it’s taking an awful lot of time, just wait until it’s over. At the end of this, you can successfully export iTunes music to Android via Google Play Music.

Method 3. Export iTunes Music to Android with the Third-Party Software
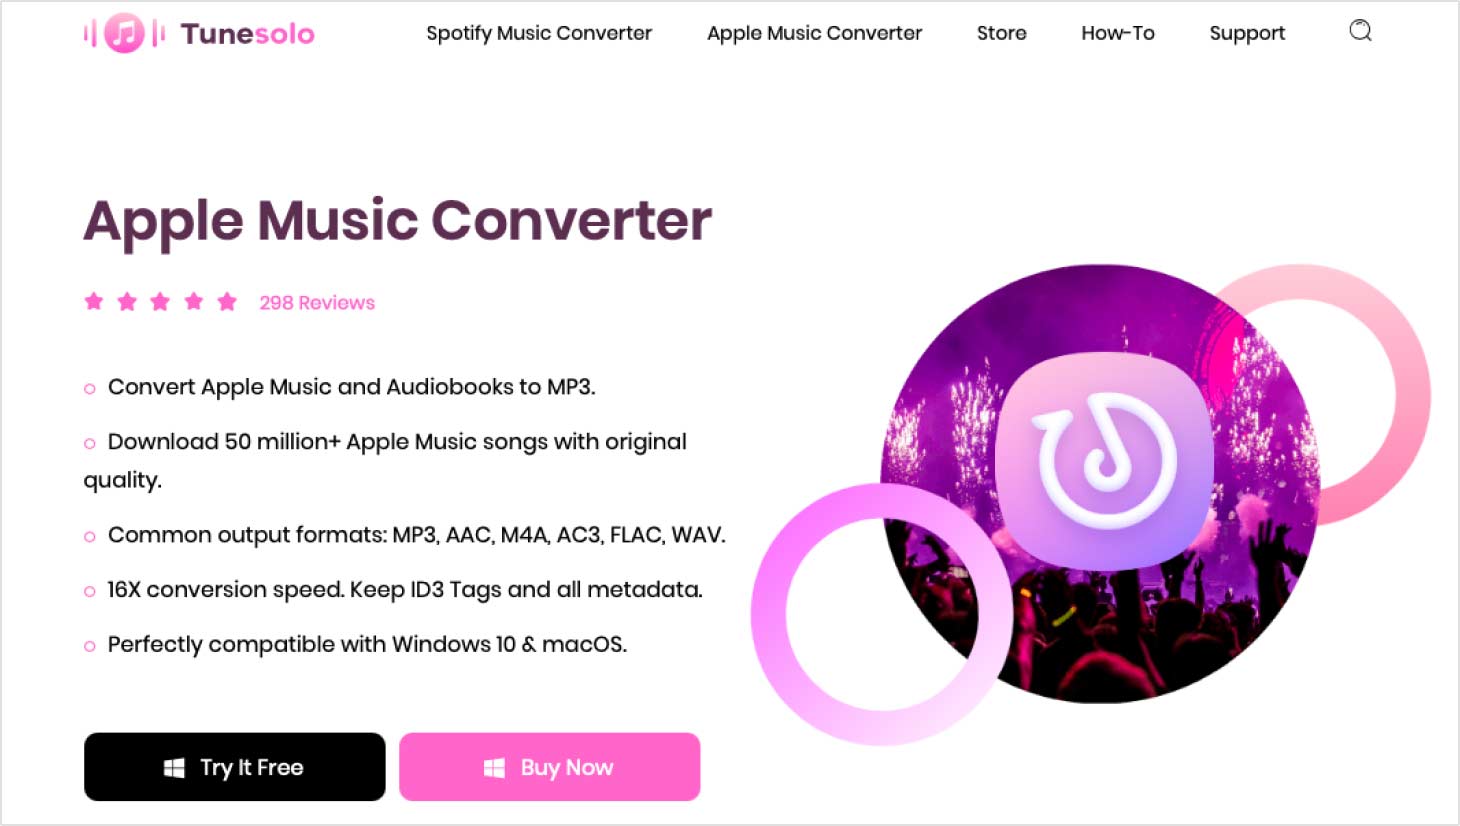
TuneSolo Apple Music Converter is a powerful tool with the capability of converting and downloading files from iTunes. Basically, you will get the ability to export iTunes Music to Android or any other device. You can check out some of its other features below:

Main Feature:
- Offline Listening. With TuneSolo, it’s possible to make iTunes music available offline as long as you download it properly. Moreover, these files will be available for viewing on devices such as iPods, iPhones, Zune, and most importantly, Android
Other Features:
- DRM Removal. It’s possible to remove the DRM protection using this software. Once the DRM is removed, you can do whatever you want with iTunes Music.
- Faster Conversion. Although it’s not as popular as other converters, TuneSolo actually has a conversion speed of up to 16 times faster than common converters. What’s more, you can convert multiple files at the same time.
- Supported Formats. The software supports numerous formats from unpopular ones like AAX, M4B, and M4V to popular ones such as MP3, WAV, FLAC, and more
Now that you have an idea what TuneSolo is, you’re probably wondering, “How do I get my iTunes music on my phone?” Below are the steps that you need to follow:
Step 1. Select iTunes Music Titles
Before we start, first check your computer if iTunes is already installed. If it is installed, continue by opening the converter. The first thing you’ll see is a list of titles. From this list, select the iTunes music songs that you want to export.

Step 2. Change Settings
Under the list of titles, you will also see a different section called Output Settings. On this section, you can change the codec, quality, format, and other things.

Step 3. Convert iTunes Music
Once you’ve done steps 1 and 2, click the Convert button from the bottom area of the window. This will start the conversion and download process so all you have to do is to wait.
Tip: Please make sure that Apple Music/iTunes is closed before opening Apple Music Converter. And during the song conversion, please do not do any operation on Apple Music/iTunes.

Part 3. FAQs about iTunes Music to Android
Naturally, you will have some questions regarding iTunes Music. This section will answer two of the most frequently asked questions regarding this matter. Let’s start with the most common question.
#1. Is Apple Music and iTunes the Same?
At first glance, you’ll be confused with how iTunes and Apple Music works. Normally, you’d think that they are one and the same. However, they’re actually two separate platforms.
- iTunes refers to a media player or library that was developed by Apple. It’s a program designed to manage Apple devices. So in short, it’s exclusive to Apple users and you can’t manage your Apple devices without using iTunes at least once. However, over the years, iTunes became available to Windows PC users.
- Apple Music refers to a subscription-based service offered by Apple Inc. It offers users a way to stream music on their devices. However, since iTunes can also serve as a streaming platform, many people mistake iTunes with Apple Music.
#2. Can You Put iTunes Music on Any MP3 Player?
It’s actually very easy to put iTunes music on MP3 players. The main problem is if it’s going to work at all. Unfortunately, iTunes music doesn’t work on just any MP3 player. So, most of the time, although you can put iTunes music on a media player, there would be an issue.
There are, however, exceptions to this. For example, if you downloaded iTunes music using an application such as TuneSolo, it should be easy to play it on any MP3 player.

Part 4. Summary
A lot of us have tried to export iTunes Music to Android. After all, it’s only right for Android users to enjoy the same music that Apple users enjoy. Unfortunately, it doesn’t end well most of the time. You will encounter at least one issue.
In your case, you can’t play iTunes music on Android even after successfully exporting it. However, with this guide, it should be possible. Hopefully, you can accomplish your main goal with this article.